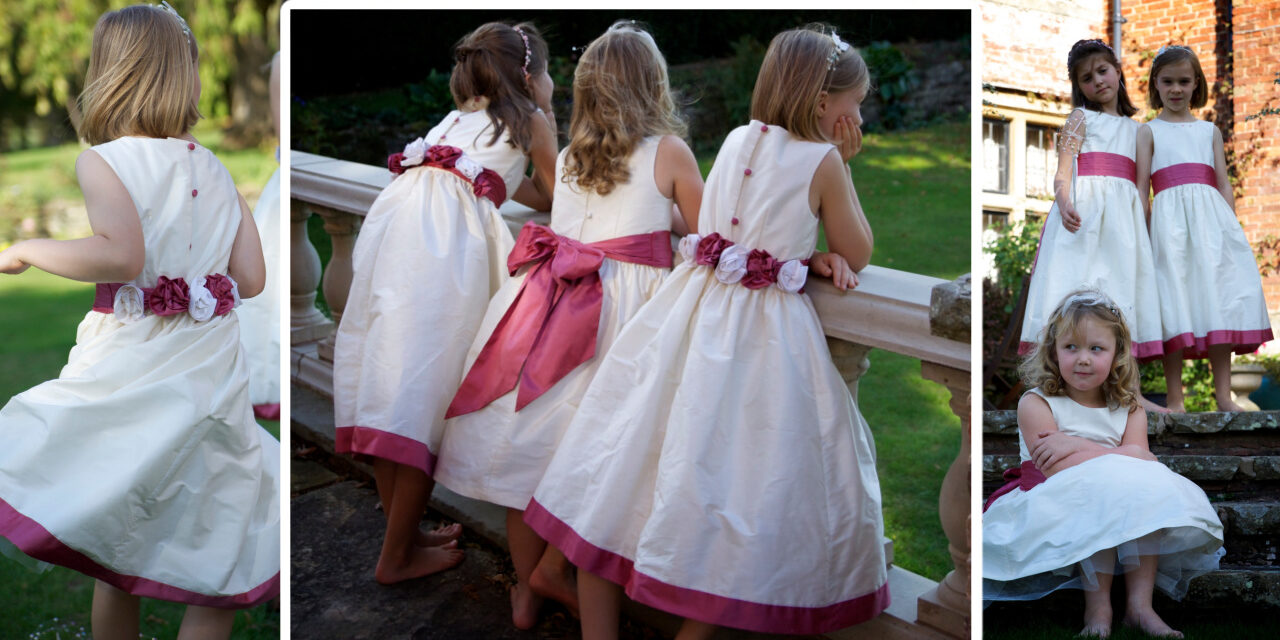
Hi everyone! It’s Jo here today showing you how to sew a beautiful rose. This technique is super quick and easy to create – it takes just 5 minutes! This rose is the perfect addition to a flower girl dress (you can find our gorgeous flower girl dress sewing pattern here), but can also be added to handbags, cushions, tops and dresses (whatever you can imagine really!). We have used it on our Lily Dress and Tunic Sewing Pattern, which you can find here.
In terms of fabric, you can use any fabric to sew this quick rose, but if it’s to customise a flower girl dress it would look beautiful in silk, chiffon and satin. If you are using the rose to decorate everyday wear or homeware you could use chiffon, linen and cotton. This technique works best on woven fabrics but stretch fabric works too.


If you would prefer to watch a video tutorial, you can find this video on YouTube here.
What you need:
-
Fabric 13″ long and 3.5″ wide
-
Sewing machine
-
Needle
-
Matching thread
-
Scissors
Step 1: Cut out and iron the fabric!
Step 2: Fold your fabric in half lengthways

Step 3: Tuck in the end from the folded edge to hide the raw edge and create a triangle
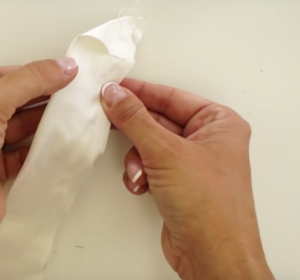
Step 4: Do a gather stitch on the open end, starting from the triangle you have just created (remember to lock stitches on the triangle end by stitching a couple of stitches back and forth to secure). Make sure you do not lock your stitches at the other end
N.B. A gather stitch is the longest stitch possible on your sewing machine
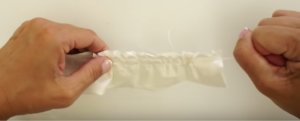
Step 5: Grab the top threads at the loose end and pull gently so that the fabric starts to gather (the tighter the gathers, the more dense the flower will be)
Step 6: Once you have your desired denseness, start rolling the rose from the folded over end keeping it even on the folded edge
Step 7: You can now see your beautiful rose! Adjust the gathers to make it perfect to your taste
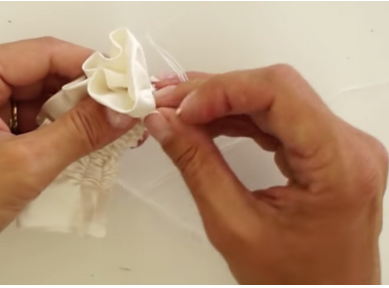
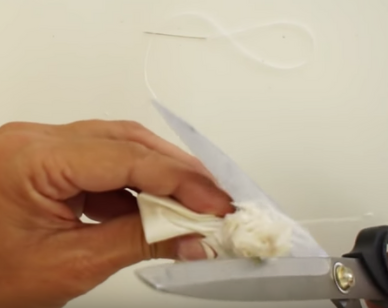
Step 8: Tuck the rough edge in to hide the raw edge (as you did on the other side) and use the loose threads to wrap around the ‘stem’ and hold the flower in place.
Step 9: Time to secure your rose! Grab a needle and matching thread (double thread, knotted at one end) and put a single stitch through the bulk of the rose stem.
Step 10: Cut off the excess rough edge of the rose.
Step 11: Wrap the thread around the rose stem several times and then sew 5-6 stitches through the stem to make sure it is really secure.
Step 12: Tie a knot in your thread and cut off the excess.


And that’s it! You know have a beautiful and simple rose made from some scrap fabric. This rose works on our more formal flower girl dress pattern which you can find here, but we have also used it on our Lily Tunic (which you can find here) which just looks gorgeous don’t you think?
Let us know what you’re using yours on in the comments!
#flowergirl #howto #free #costumes #ideas #Craftideas #easy #beginner
Views: 263



Recent Comments