

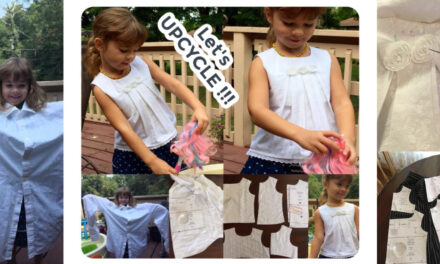
Here is the third member of our baby Collection of PDF sewing patterns! The Bubble Gum Joggers. You can check out the video below to see what it is all about!
As always when you design a new sewing pattern there are many ideas flying around your head and by the time you know how to go about it, there sure will be plenty of hick ups. My main aim was to make a simple pair of pants or joggers which any beginner could sew.
Secondly I wanted it to have some special features and thirdly I wanted it to fit awesome! The fitting awesome was no trouble thanks to my awesome tester squad!
So once the shape was done I added some fun feature side pockets. Can’t say I invented them though, I actually saw them in a shop and was like “That is genius!” Of course turning it into a pattern wasn’t that easy, what I had seen didn’t really translate to ‘easy sewing’. But long story short I did manage to translate this brilliant technique into a method even a beginner can follow.


The pocket started like any other side pocket but I added another piece to the side and transformed it into something which is akin to a welt pocket only dead easy. So here is how I did this!

This is what it looks like when cut correctly. The pattern will run perfectly across the pocket. The first time you do this it may be a little hard to wrap your head around this but once you have that ‘Oh I see’ moment’ it will be a favorite method for you.

First you sew the pocket lining to the slanted edge of the front piece. This part is like any other side pocket.
Then it gets interesting. You iron the seam apart and the open the pocket lining and front piece out.

Place the side pocket piece over the top, right side facing down. The center of the side piece sits on the seam line exactly. Then flip the piece over.

Mark down 3 cm from the top and bottom and stitch in the ditch. Sew down from the top and the lower end. This creates the pocket opening. Crazy cool or what?!?

Use a small stitch length for this. I tend to pull the seam apart a bit to make sure I stitch in the ditch. The cool thing is, even if your stitching isn’t perfect, it will look great.

All you have to do is fold back the side piece and pocket lining, topstitch around the pocket and you are almost done.

Just pop under the pocket piece sew to the lining and bam! I loved this new technique because it doesn’t require expert knowledge and years of experience. Its just sewing straight. That you must have down though.

My takeaway from this is, you always learn something new. When you see this technique popping up everywhere, remember you heard it here first!

My testers are always the linchpin in any design. Unlike me they actually have babies and can give me super feedback! Above you can see the joggers from @lillifix. Check out her Instagram feed, she makes wonderful things. She also sewed up our lollipop romper which looks awesome!
Ela sews and knits for her little girls and also makes sure my instructions are up to scratch. You can find more from Ela at @handcraftedbyela.


Julie sews for her baby and loved the fit of the joggers. At first I made my waistband to high had to shorten it. Julie whipped up this pair and gave the thumbs up.

Trudi just loves to sew and a neighbours boy checked out the fit. He is actually 4 already and with slightly longer legs he fitted into them just fine. Often little kiddos can wear their 2-3 size way longer then just to age three. I remember my son wearing his knit shorts till he was six!
And that is it for this week! I am now working on the matching sweatshirt! Here is a little sneak peak.

Views: 210


Recent Comments