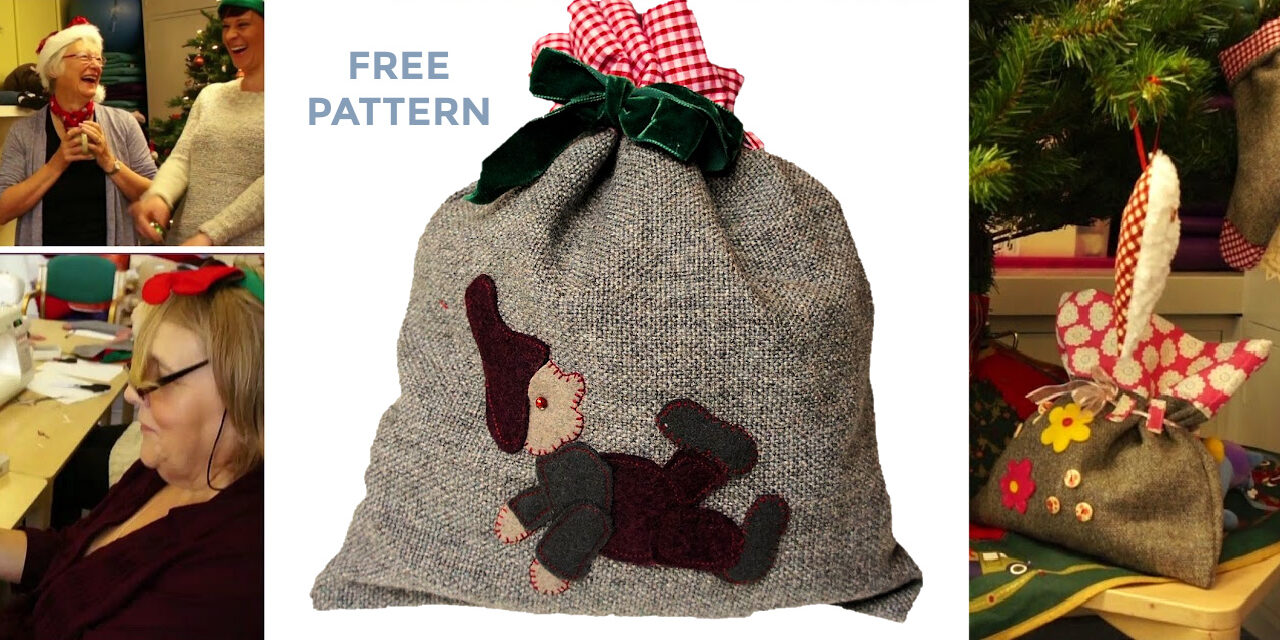
Welcome to the third, and last in our series of Handmade Christmas Craft blogs, here you can learn how to sew a beautiful gift bag. We hope you have enjoyed sewing along with us and making these lovely Christmas crafts. As they’re perfect for beginners, why not get the kids involved in Christmas Craft and start their passion for crafting early?
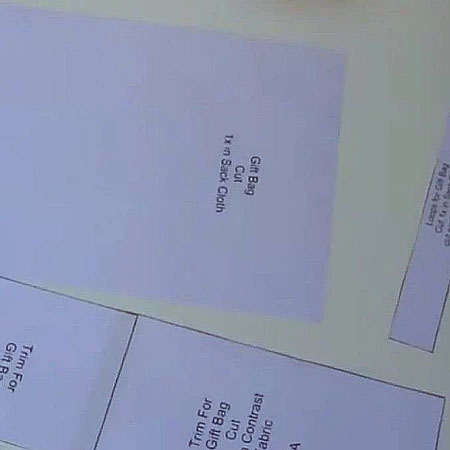
This free pdf pattern is part 3 of 3, you can find it on the Academy here.
The bag is made in sack-cloth and the loops in a cotton check fabric. As a tie I found a beautiful velvet ribbon.
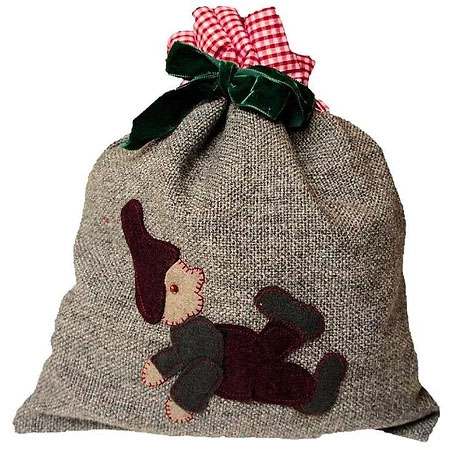
Have you heard of the Wichtelmännchen yet? They are fable creatures from the Nordic states which are just too cute but cause havoc in the homes of kind people. Ancient tales tell of the housewives putting out milk and cookies to keep them sweet, especially around Christmas when there was lots of work to be done.
It sounds awfully familiar doesn’t it? Only we put out a carrot for the reindeer and a little something for Santa. Lucky for us, Santa doesn’t douse the kitchen in flower if you forget to put their treats out!
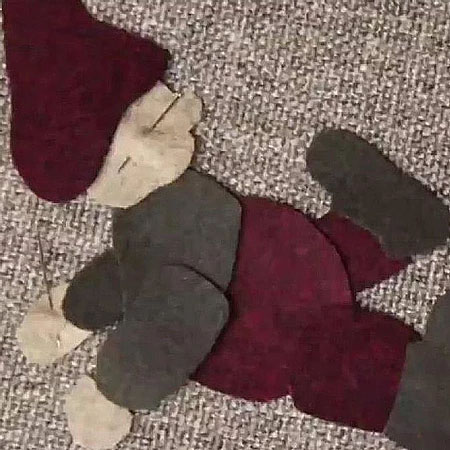
Step 1. First we are sewing the Wichtelmännchen to the bag. I used 3 different colors of wool felt for the Wichtelmännchen. Fold the bag part in half and pin the Wichtelmann pieces to the bag.
Once done remove the upper pieces and sew on the lower ones. You could also do that by hand
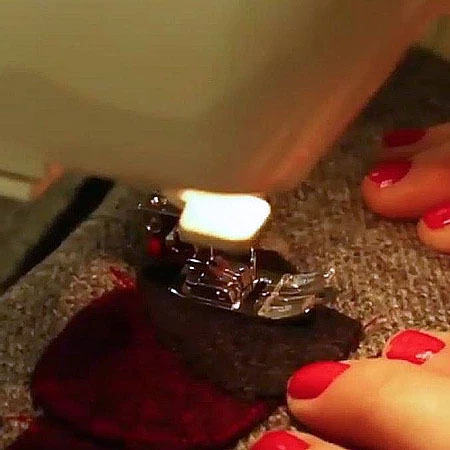
Step 2. Keep adding the pieces back on until the hat is also applied. Sneaky people can also use Wonda web and simply iron the pieces on. It takes a 10th of the time but I like the hand stitching very much. It will also last longer!
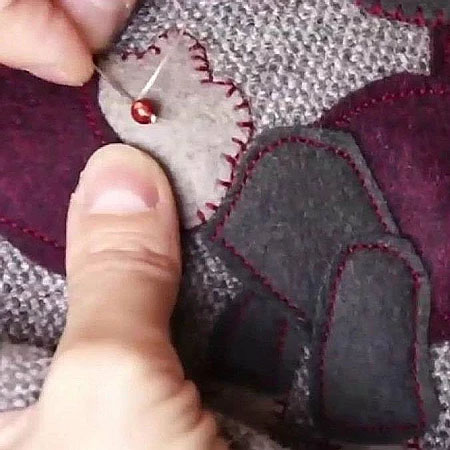
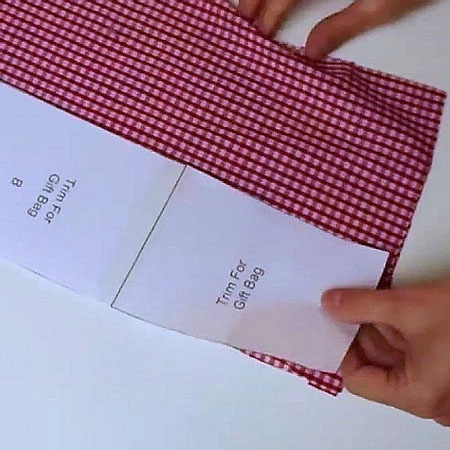
Step 3: Sew one trim to either end of the bag. Topstitch the seam.
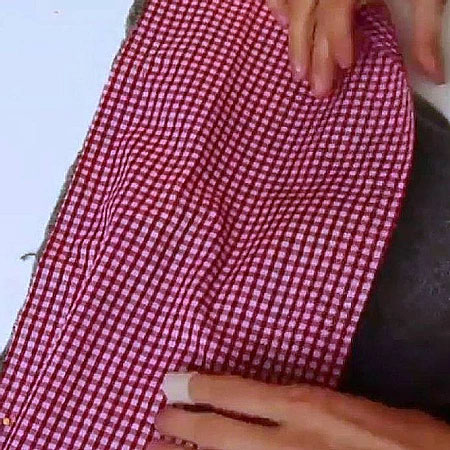
Step 4: Close the side seams and finish the edge, either with an overlock or a zig-zag stitch.
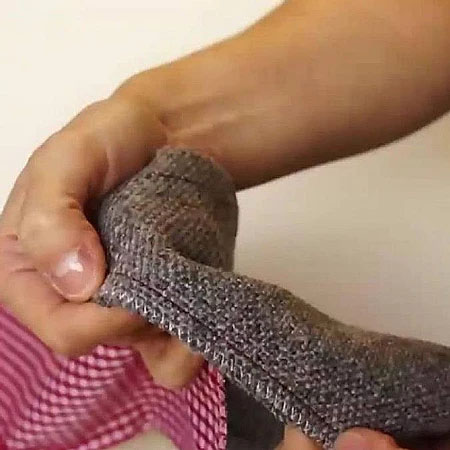
Step 5: Fold over to the inside, turn in the edge and pin to the seam. Topstitch from the outside of the bag. Stitch close to the edge.
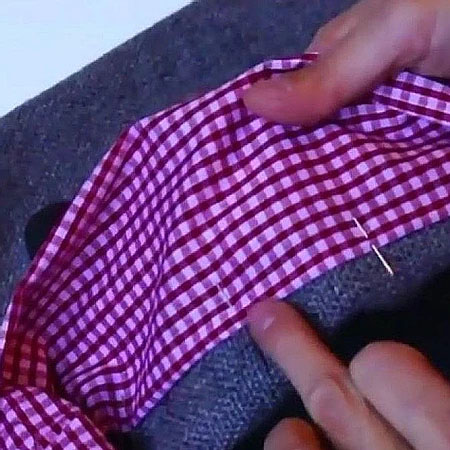
Step 6: Sew the loopes for the velvet ribbon. You want to iron the edges of the long strip in from either side and topstitch along the edge. Then cut them to 5 cm length each.
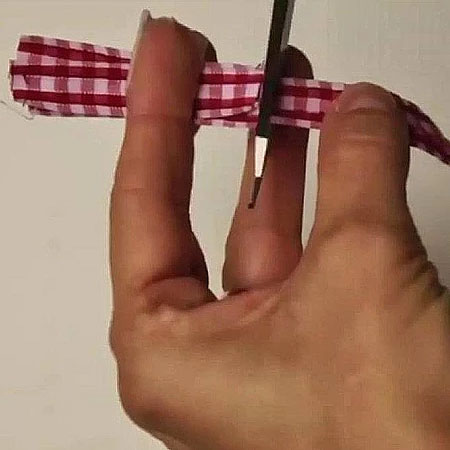
Step 7: Sew three loops just under the edge of the trim. The rough side needs to be facing up.
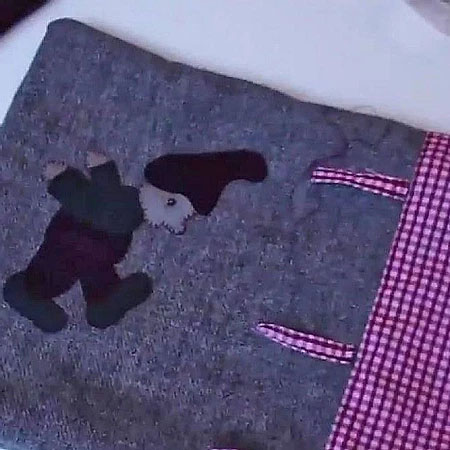
Step 8: Fold under the top of the loop and stitch into place.
Add the ribbon and tie. Now all you need are some awesome little surprises to go inside.

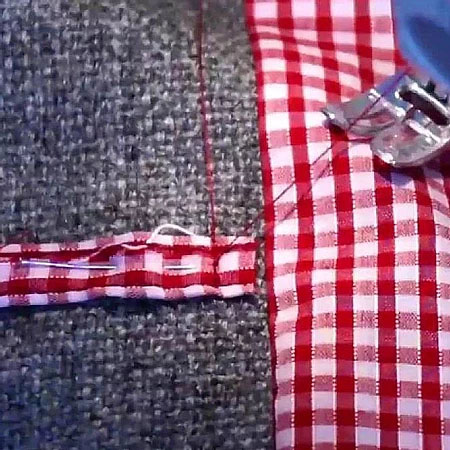
Don’t forget we also have this tutorial as a video in our academy. Sign up, enroll and enjoy!
Coming up!
We start with our ‘sew along’ tomorrow (15th)
in our Facebook Group .
We are sewing the gorgeous half apron for us and the kids with our templates from the Christmas tree skirt pattern. I am determined to have it all matching this Christmas! You can of course use you your own templates too.
This course just gets better every year with more projects added. Suuuperrrr!
Views: 250



Recent Comments