How to sew the Paris Bolero for Dolls
Transcript for the video: Paris Bolero - Step-by-Step Tutorial.
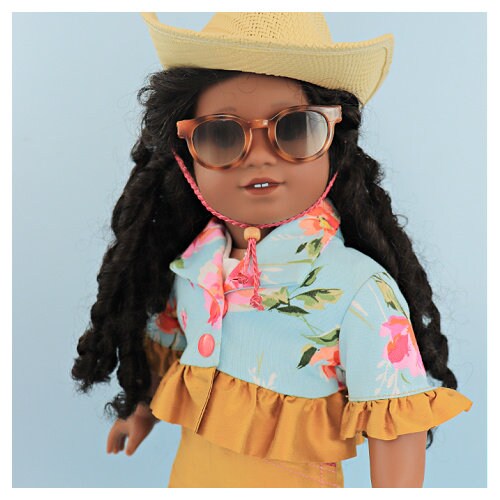
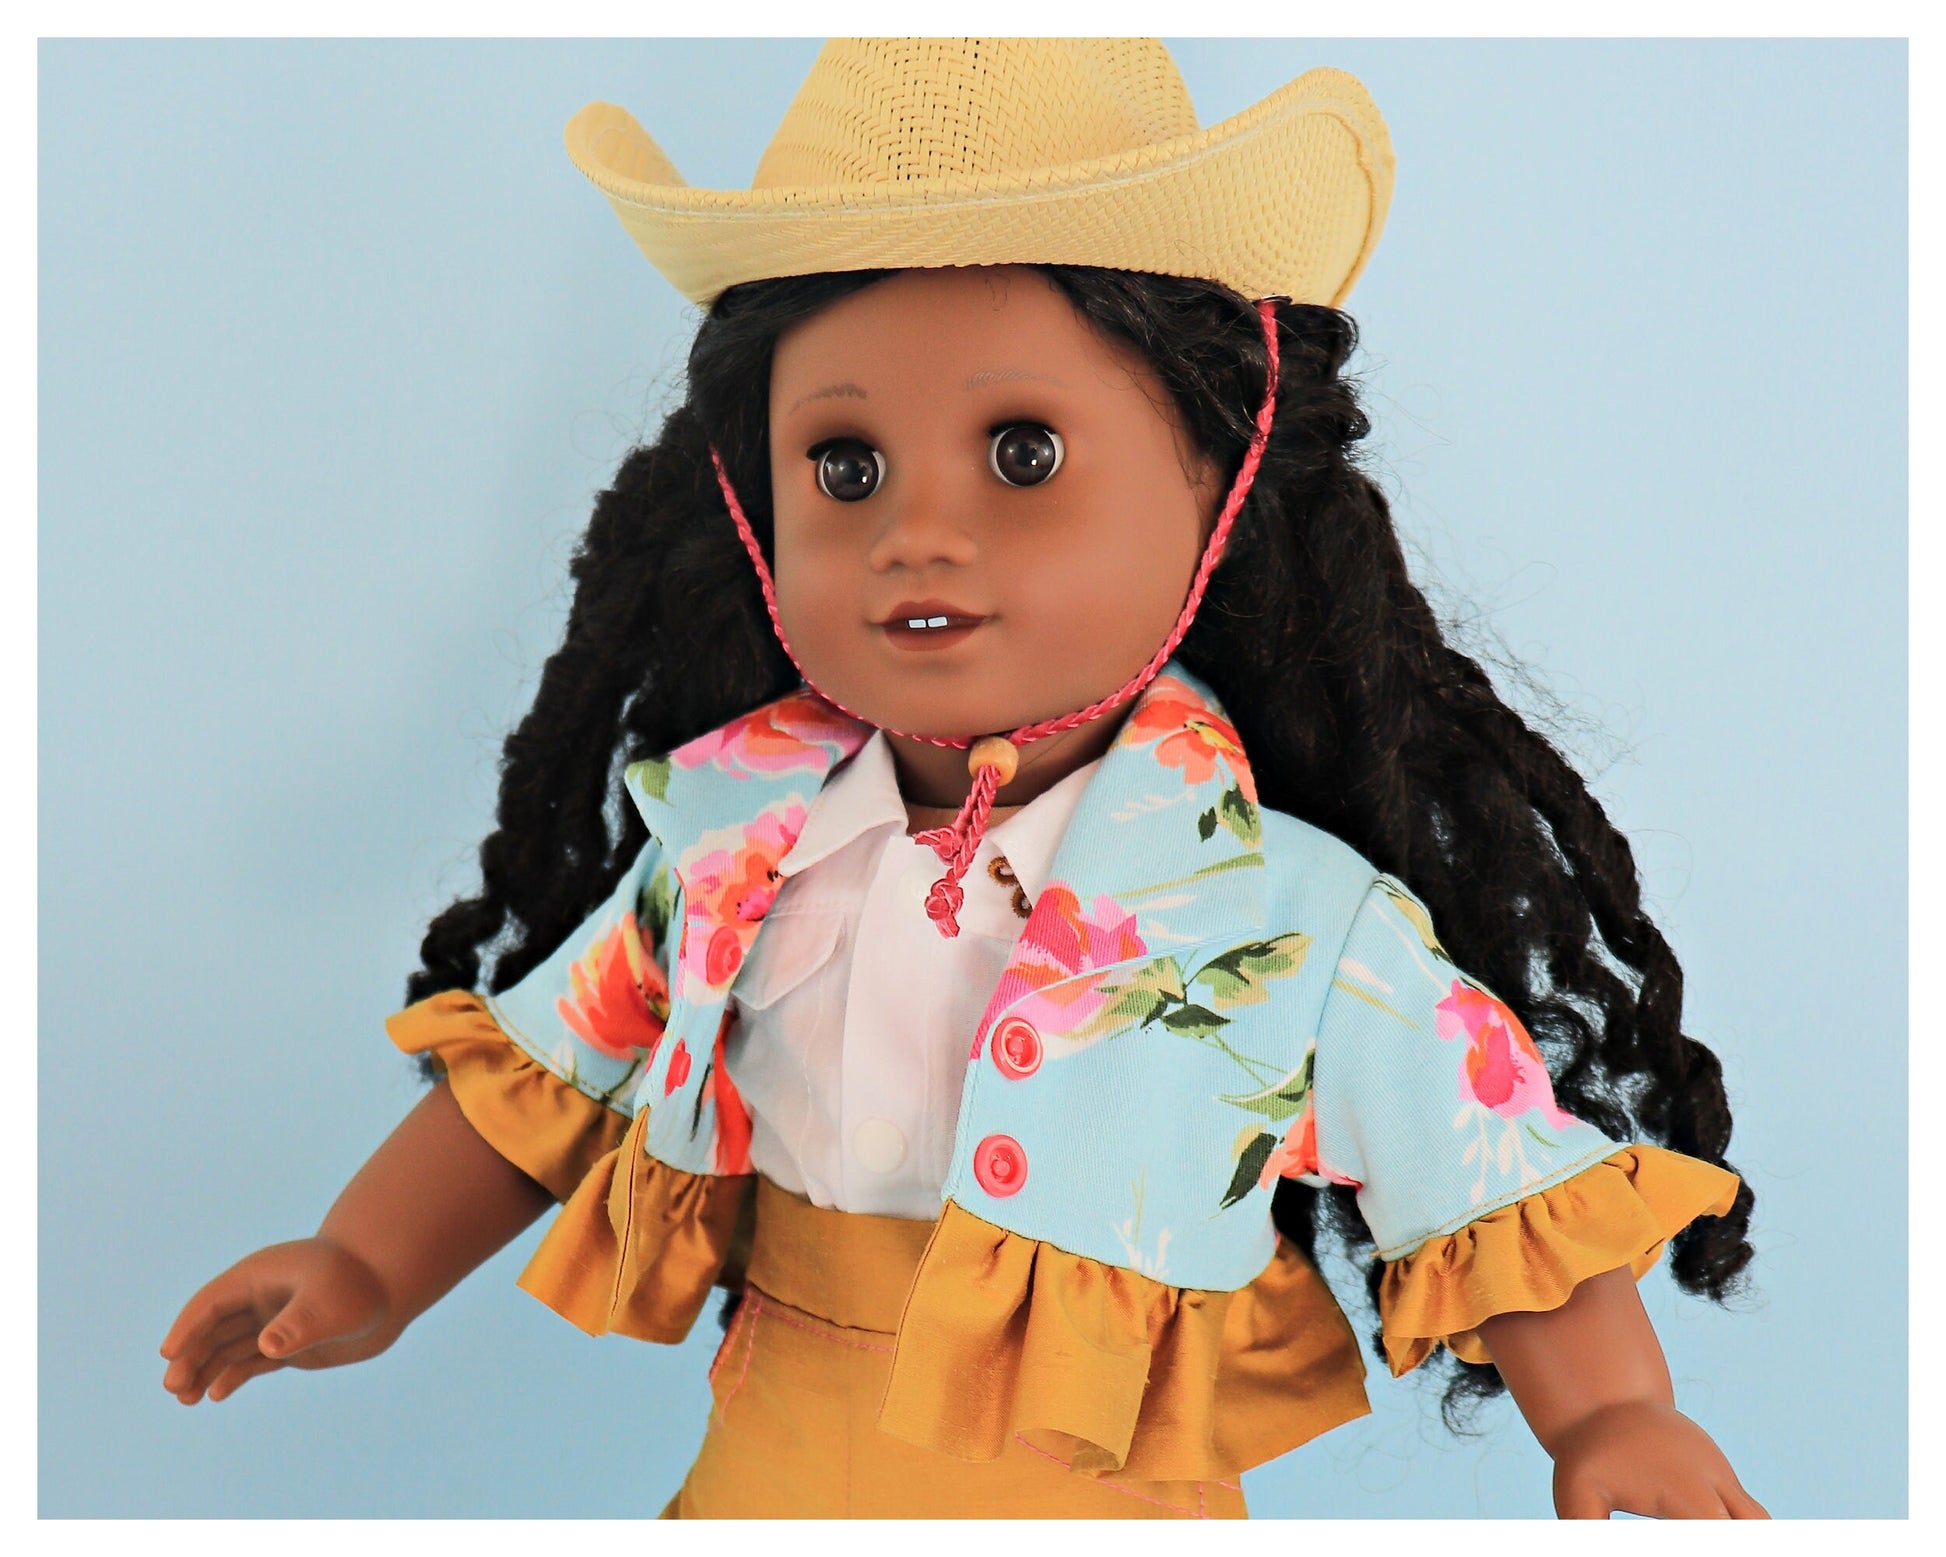
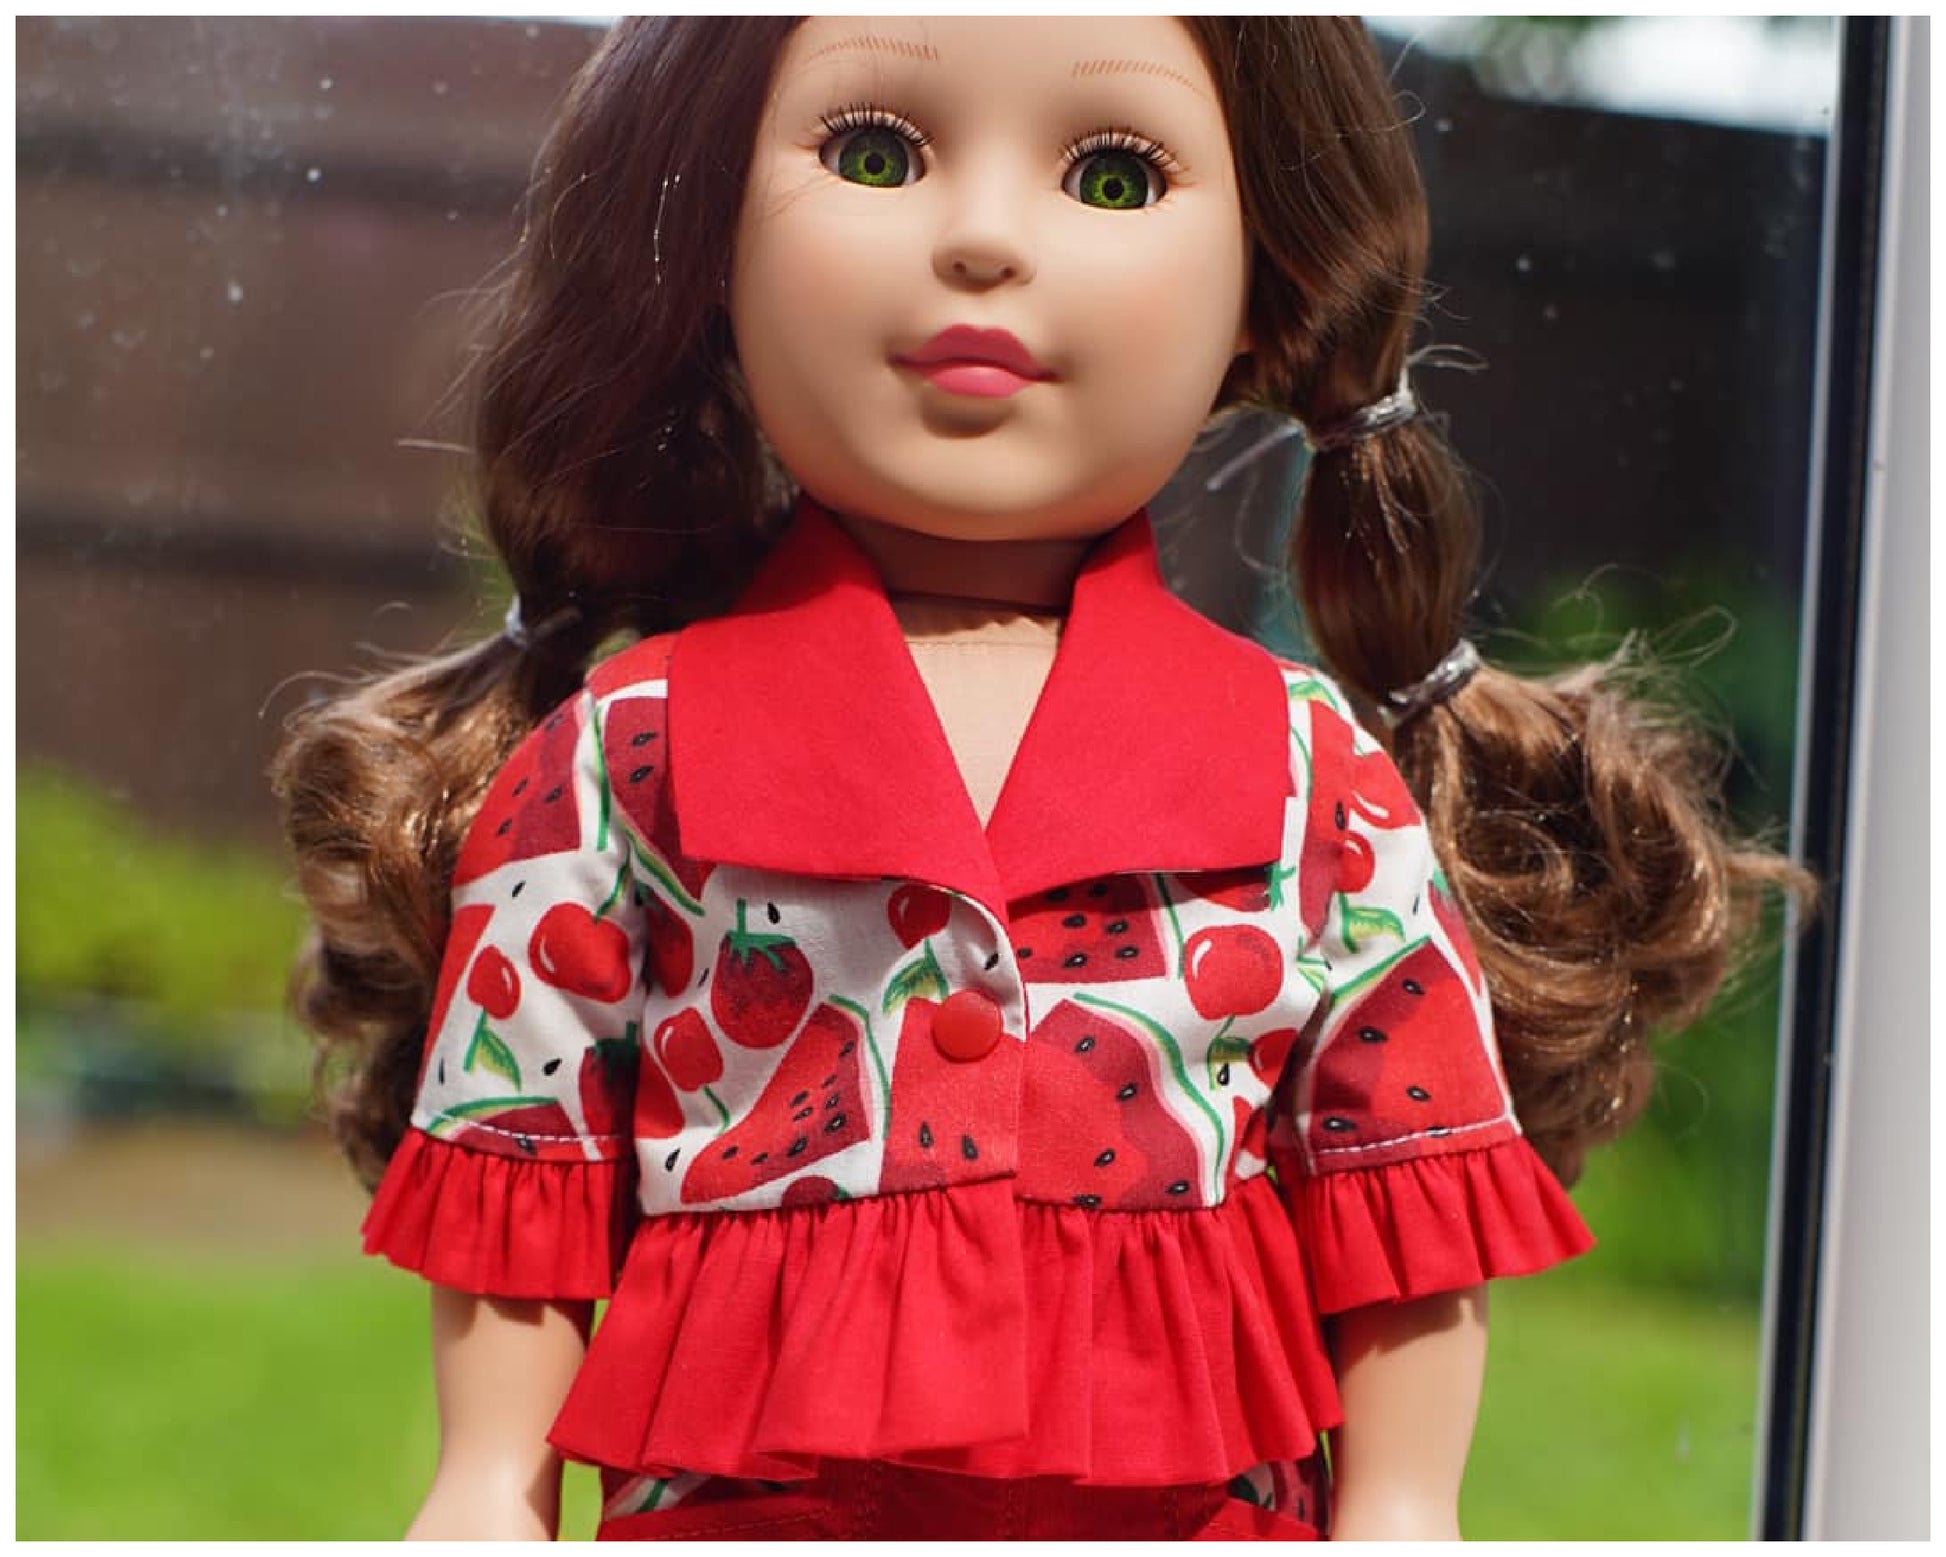
Hi everyone this is Marina from Frocks & Frolics and we'll continue on with more doll clothes for you. In this video, I'm going to show you how to make the Paris jacket.
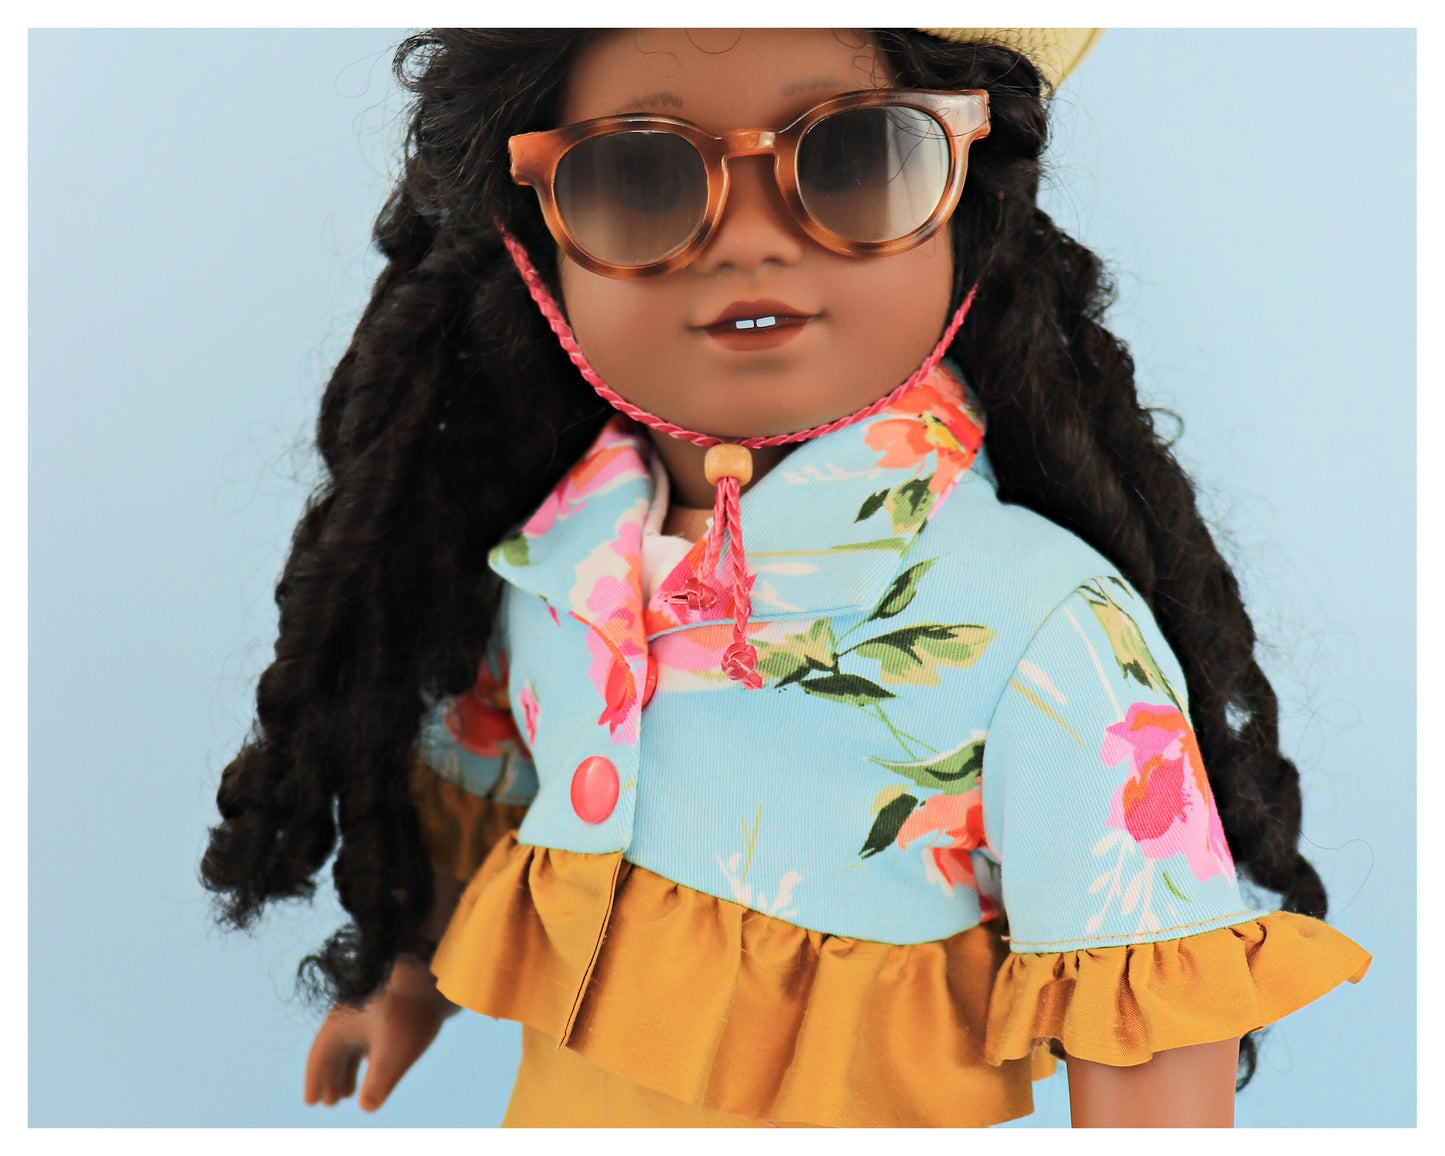
You might have made it for your daughter already, and this version here is quite a lot easier. What you can learn with it as well is, of course, how to put a shawl collar in which wraps all the way around. It's absolutely gorgeous.
It is simplified a little bit so that no beginner has to worry about that. I think it's a great practice ground for you.
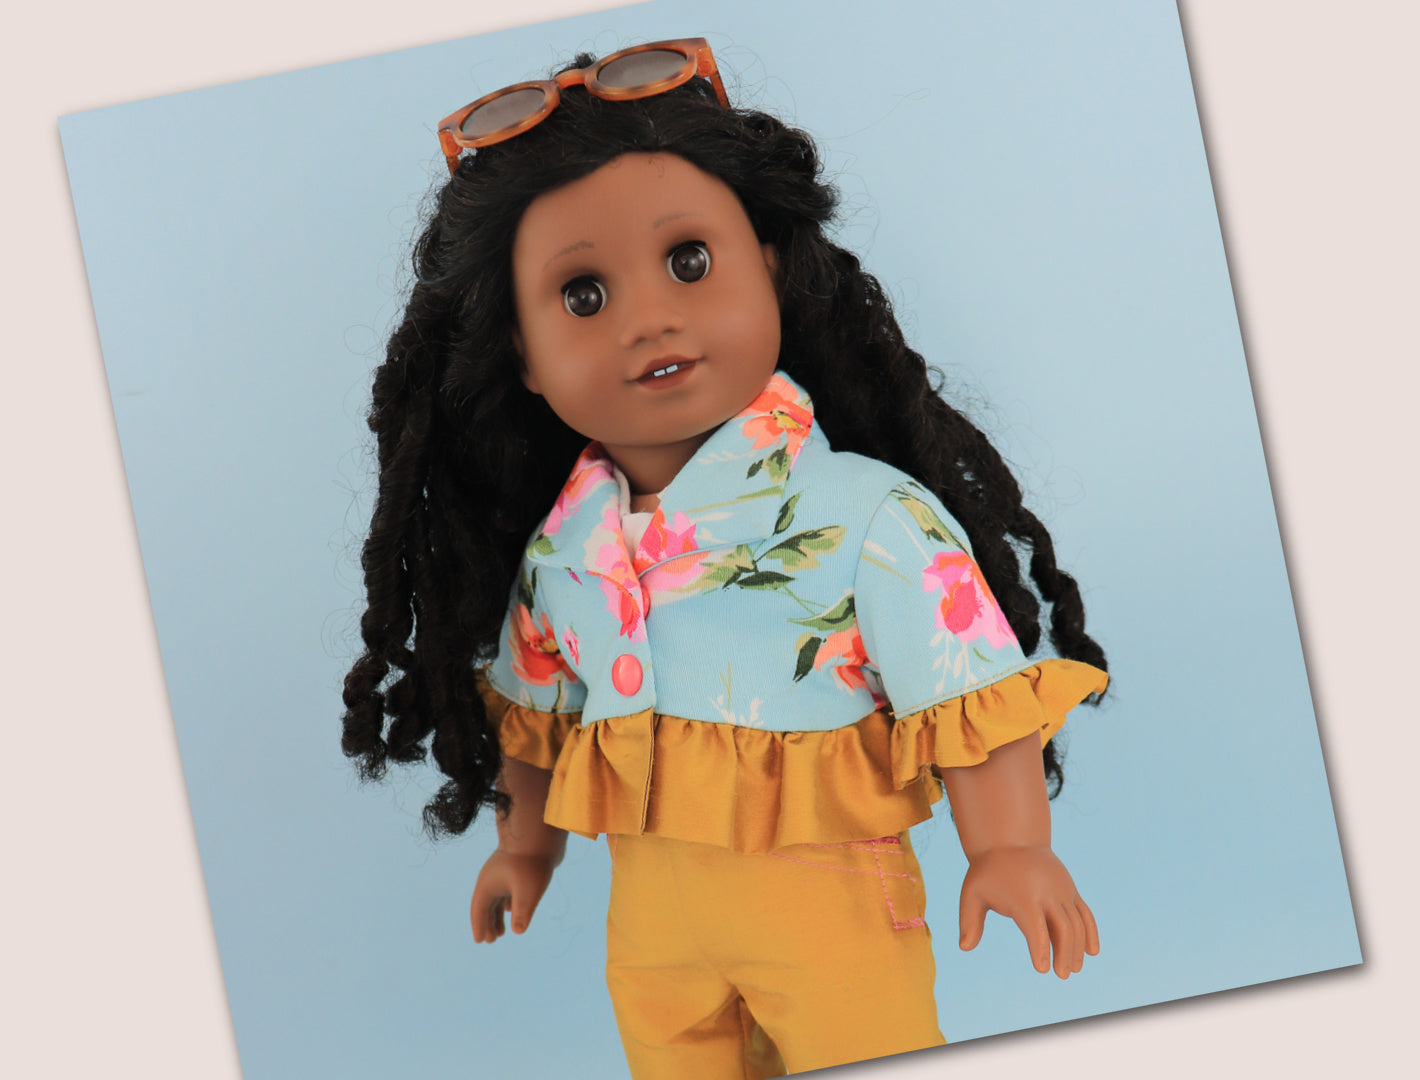
On this side we've got another beautiful doll which is wearing the Audrey Capri pants just like this one. She can sit this one out because we've got them here as well and that's part of the combination that you get. They come as a package, you get the jacket and you get the pants together.
Pattern Overview and Cutting Instructions
First we're going to look at the pattern pieces so we make sure that all the right stuff is cut out.
Starting with the sleeve, I've got that here twice, and then I've got the ruffle that goes on the lower end twice as well. That's cut on the fold, and the sleeve is cut mirror image. Make sure that you mark the front and the sleeve head, that makes it easier to put it in later.
The back lining has a facing lining and then another facing and they're going to be sewn together to make one piece like we have in the upper material. You could cut that on the fold but I personally think it's nicer for these smaller pieces if you've got it in one bit.
You also need to mark the center back for all of that.
On the front pattern I have marked the welt buttonhole. You could of course put any buttonhole you like. There is a video in the course that will show you how to do a proper buttonhole.
I'm cutting the front four times. I use the same material for the outer and inner parts, including lining or facing.
On all four pieces, make sure to strengthen the area where you will snip later by adding interfacing.
Then we've got the ruffles for the sleeve, cut twice, and another ruffle for the jacket hem.
Back and Shoulder Construction
Let's get started with the back. We place it in front of us exactly how we want it to look when it's finished.
Then we flip over the lower facing onto the lining and put it together with just one pin in the center back so everything lines up.
Now we close the shoulder seams for both lining and upper material.
Take the back and front, line up the shoulder seam, and mark the seam allowance. We stop one centimeter from the neckline point that we've marked.
Do the same for the lining.
This is simple because the distances are small, so it's very good practice.
Sewing and Topstitching the Body
Now I've already put together the upper part.
Next I sew the lower facing onto the lining, using one centimeter seam allowance.
Then we topstitch the seam allowance to the body, with the lower one facing up and upper one facing down.
Use a longer stitch length, around 3 to 3.5, for a nicer finish.
Then we close the shoulder seams using a shorter stitch length, locking stitches at the beginning and end.
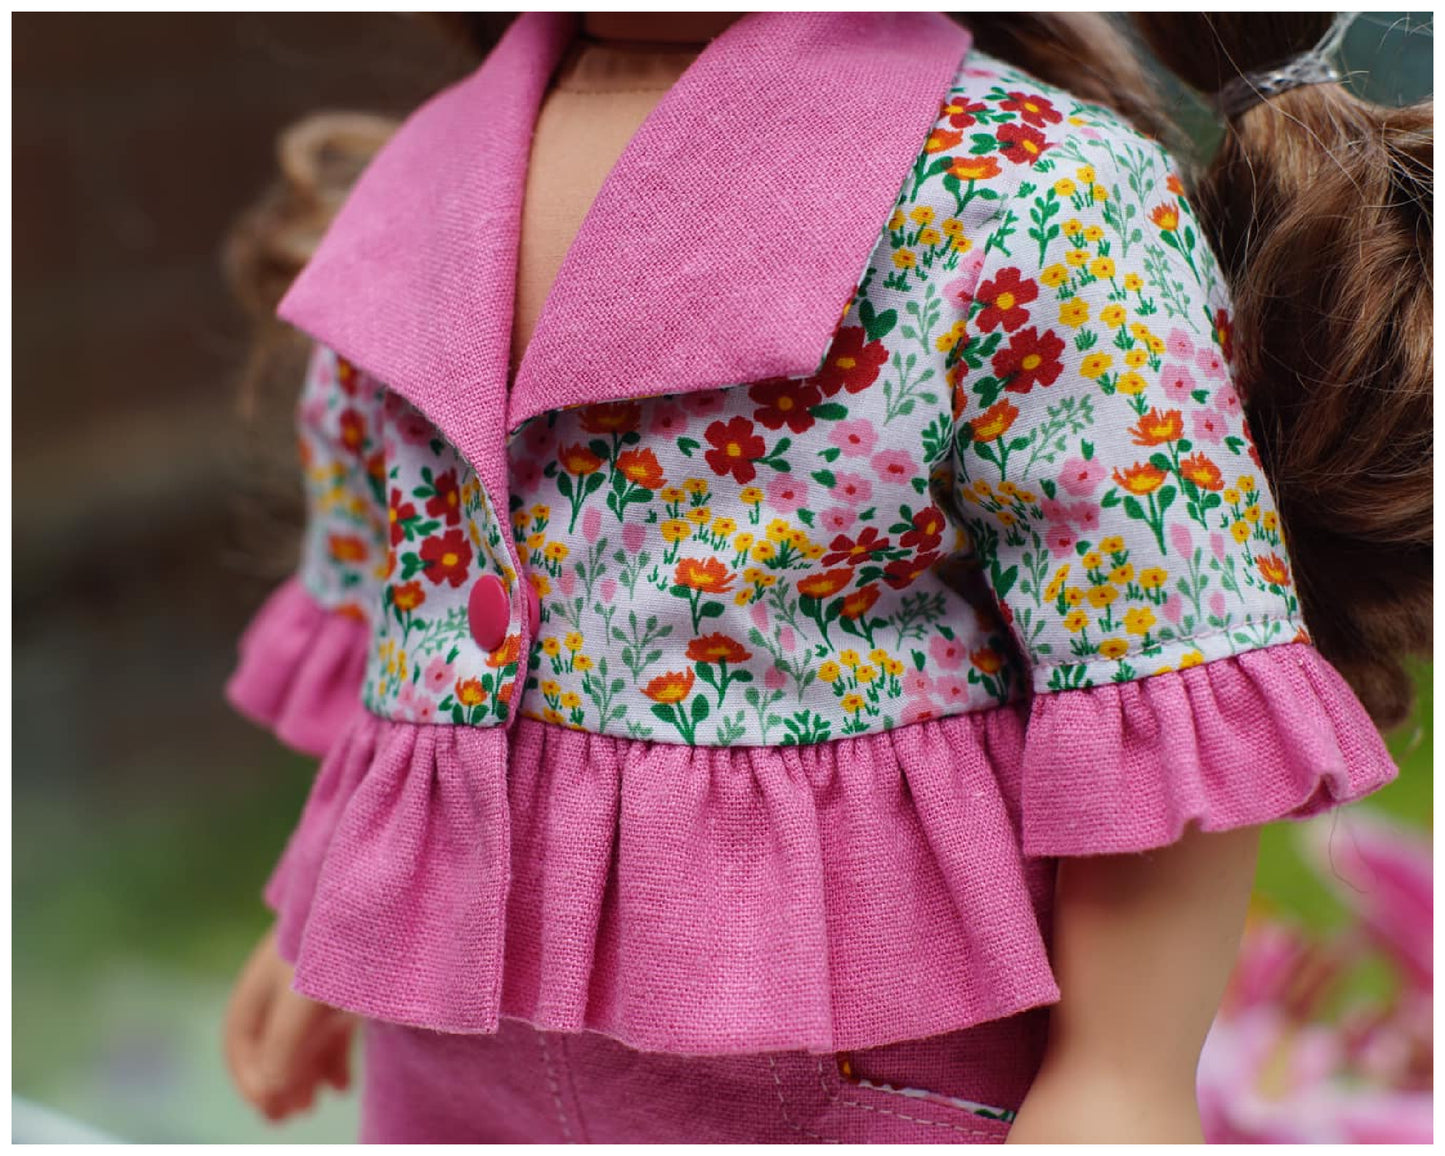
Collar Construction (Shawl Collar)
Now we're ready to close the collar.
This is a shawl collar which wraps around, so you need to snip right into the corner carefully. This is important so the collar can turn properly.
Place the center back and collar seam together and open everything out. Make sure the front pieces are flat and aligned. Start sewing from the cut point and go across to the other side.
Then iron the seam into the collar, not downward, so the collar stands nicely.
Optional Closure (Velcro Tip)
If you want to use Velcro instead of snaps or buttonholes, place hook and loop tape carefully so it is 1.2 cm from the edges.
Sew only the lining side first if needed, so stitching is not visible on the outside.
Front Assembly and Ruffle Preparation
Now we close the front. Sew all the way around with a one centimeter seam allowance.
At corners, you can reduce stitch length for control, but it is not strictly necessary because we will fold edges instead of cutting them.
After sewing, trim seam allowances and clip curves to reduce bulk. Fold seam allowance inward and press into corners for a clean finish.
Sleeves and Ruffles
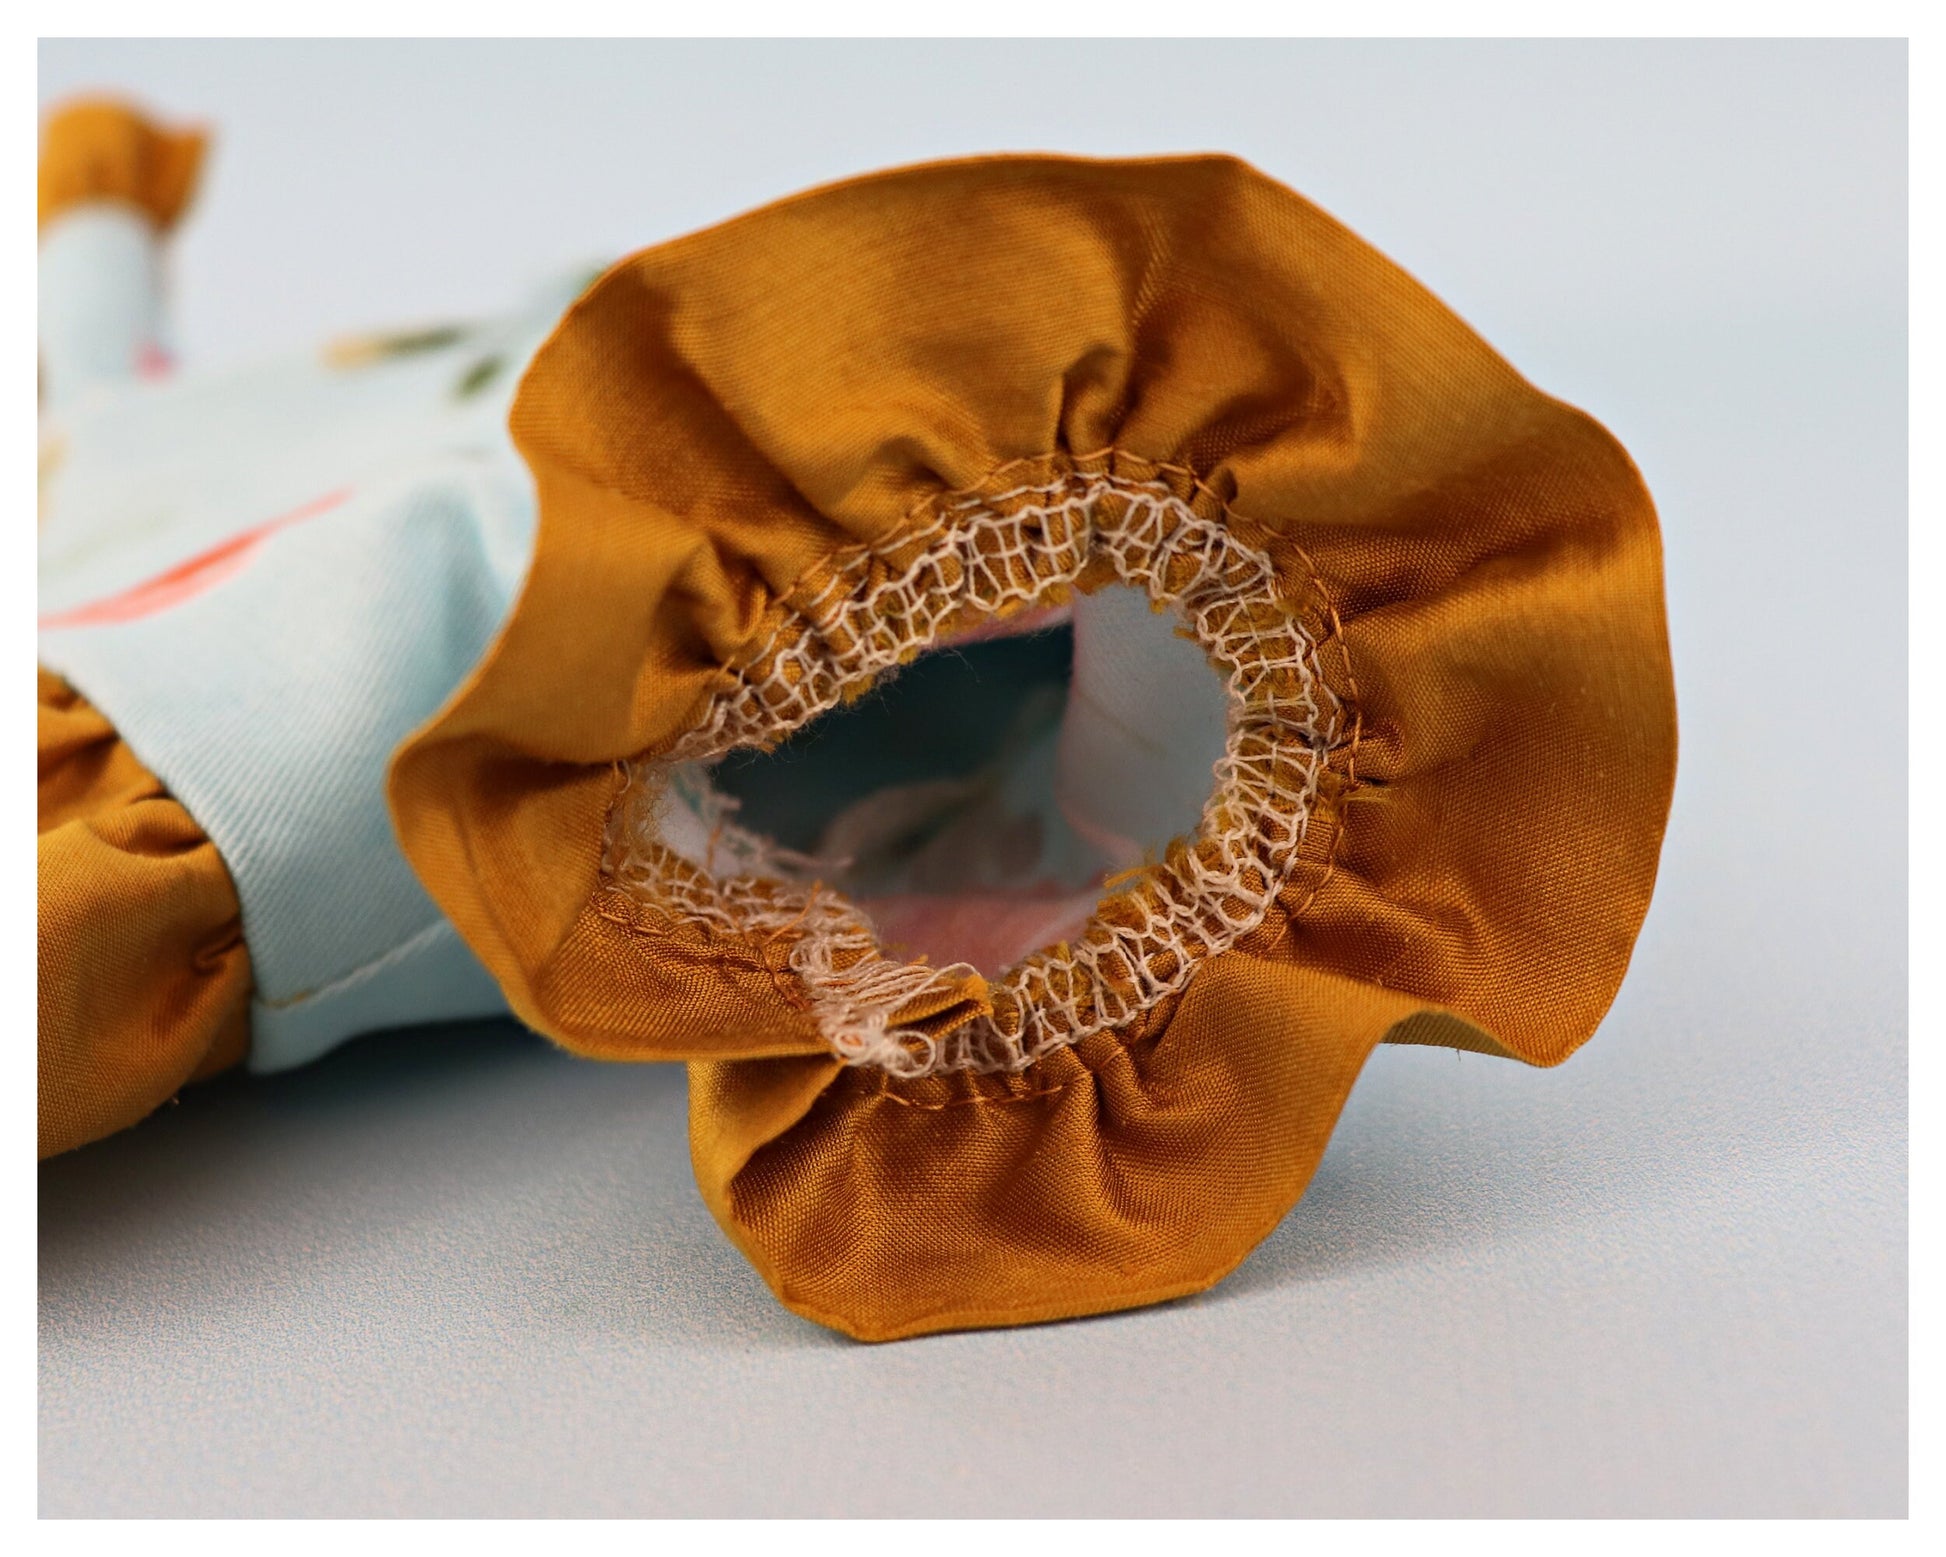
Now we prepare sleeves. Fold ruffle in half lengthwise and iron. Add gathering stitches along the top edge.
Close the short seam and prepare ruffle for attachment. Pull bobbin threads to gather ruffle and fit it onto the sleeve.
Distribute gathers evenly, stopping before the seam allowance area. Sew between gathering lines and then serge or finish the edge.
Topstitch with a longer stitch length for a clean look.
Inserting Sleeves
Match front notch to sleeve front. Pin sleeve into armhole, aligning shoulder seam with sleeve head.
Ease sleeve into armhole, making sure it rounds naturally. Sew using one centimeter or foot width seam allowance.
Use pins to hold fabric flat and prevent pleats. Then serge the edge.
Close underarm seam from ruffle to hem.
Hem Ruffle and Bagging Method
Attach ruffle to hem using the same gathering method as sleeves. Sew between gathering stitches.
Then we do “bagging” by placing everything inside and aligning seams. Sew hem while ensuring no stitching line shows on the outside.
Trim seam allowances and reduce bulk where needed.
Turning and Finishing
Turn the jacket through the armhole.
Press all edges carefully. Optionally topstitch around the jacket depending on fabric choice.
Before closing the armhole, pin everything smoothly. Clip carefully to the holding stitch line so nothing is cut too far.
Turn seam allowance inward and prepare for slip stitching.
Armhole Finishing (Hand Stitching)
Use a hand needle to slip stitch around the armhole.
Tuck fabric neatly and stitch through fold and seam allowance. This gives a clean professional finish and is beginner friendly.
Final Closure (Cam Snaps)
Overlap front by 1.5 cm. Mark snap positions carefully. Use pliers to attach cam snaps step by step: cap, socket, and stud. Press to secure each snap.
Final Thoughts
And that's it, your jacket is finished.
These doll clothes are great practice for beginners and also really satisfying because they come together faster than full-size garments.
If you enjoy this, you can explore more patterns from the doll clothes collection and build your sewing skills step by step.
Bye for now.