In this blog, you will Learn how to Cut Bias Binding Fast. Isn’t it great when you sew something which makes you want to look at it again and again, when you can’t wait to get it out of the cupboard to check it’s still as awesome as when you turned off the sewing machine!. Well, that is what it feels like when you sew a Manhattan Top.
Forget shop bought bias binding!
Yes, turn away and don’t look back, its time to do it the professional way. Making the Manhattan Top I chose a silk satin, always a good choice provided you don’t throw it into the washer dryer, ever! In that case stick with rayon or viscose.

Satin has a shiny and a matt side. Create a super elegant look by switching it up and using the matt side for the bias binding. Trust me that will look fabulous. Now we will make our own bias tape. Its so simple and you will have a tape that has more stretch and is slimmer and firmer than shop bought bias tape. I like shop bought bias tape, you may say, and I agree it has its place. I have rolls of it in all sorts of colours BUT I do not use it for expensive fabrics. I use it to bind the edges of petticoats or as a trim. NEVER EVER put that stuff on your nice, slinky piece of fabulousness.


So, how do I cut bias binding? Simple! Cut a load of single strips if you are making more than one top or just want to stash some binding away for a rainy day.
Step 1: Fold over one corner of your fabric to create a 45% angle.
Step 2 : Cut through that fold.
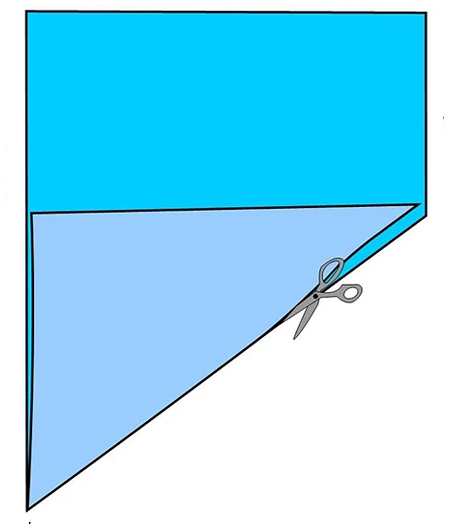
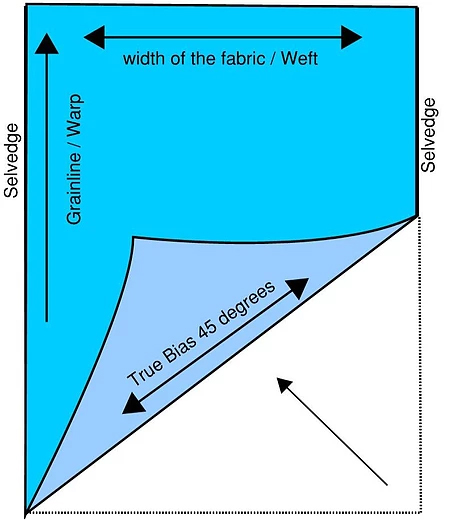
Now you have perfect bias we can work with.
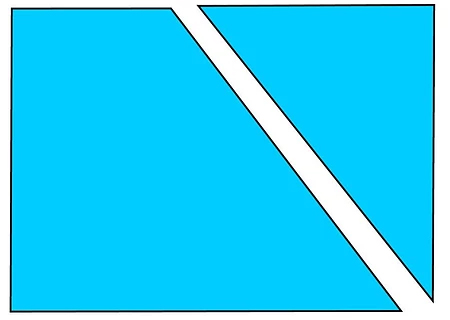
Step 3: We will start by creating several wide strips, measuring 12 cm / 5 inches, which will accommodate the bias strips we will cut in a minute.
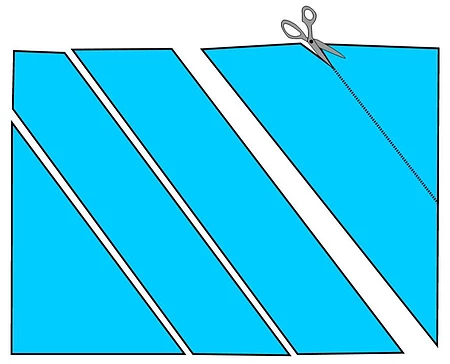
Step 4: Sew all wide strips together, iron seams apart and cut the seam allowances back.
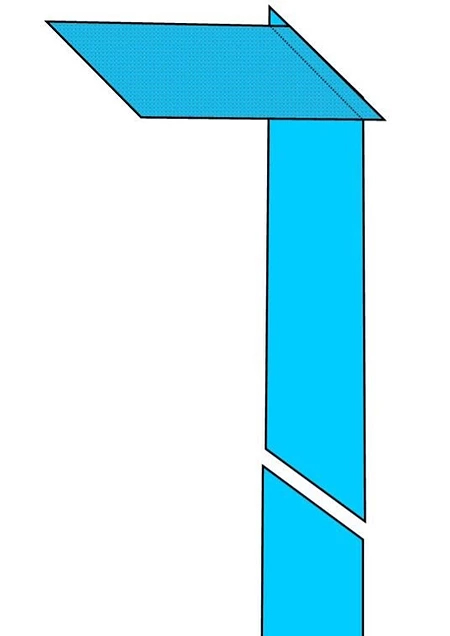
Step 5: Time to cut the individual lengths. Fold over the long strip until you have a nice neat parcel which is less in length than a ruler.
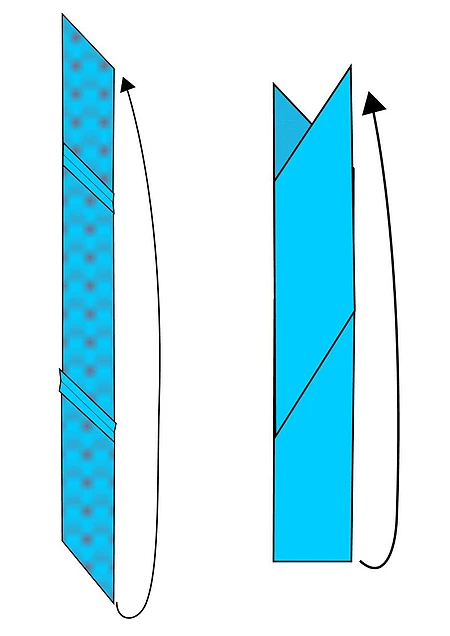
Step 6: Mark each strip into 3 cm / 1 ¼ inch sections with tailor’s chalk (You might want different width bias of course). If you are worried about the fabric moving, put some pins between the marked sections. Cut the bias.
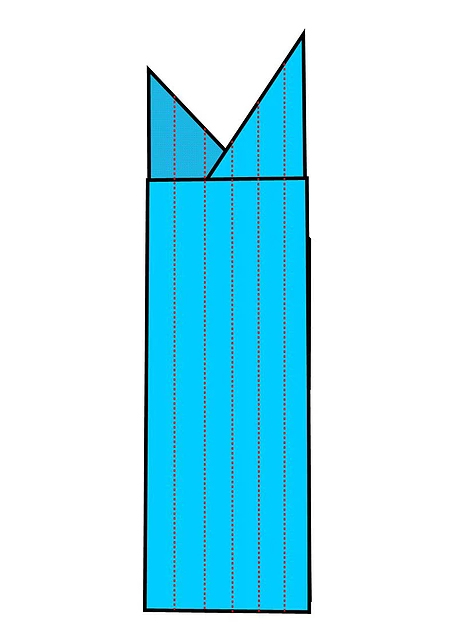
When the bias tape ends are cut on a 45% angle too you have the straight grain running with the seams to join multiple bias strips. There is another advantage to this, it also makes the bias a ton flatter and smoother. You won’t end up with too many layers all in one place.
No matter which length or pattern you use just cut the recommended strip length at this angle. When you join the pieces make sure they overlap both sides, so they end up creating a smooth line.
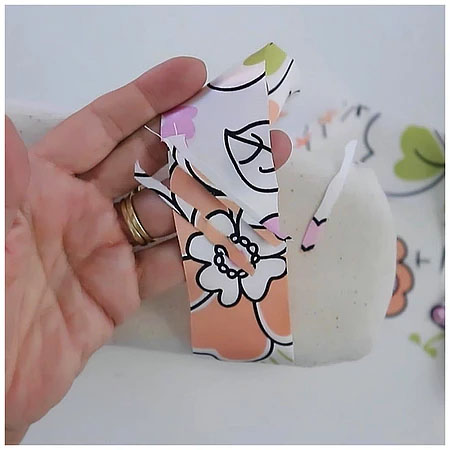
Iron those seams apart and then cut them back sharpish.Now you know how to cut the bias binding you can move on to my next blog post tomorrow where I show you how to bias bind a neckline.


Recent Comments