
Hello everyone!
Today I am introducing you to a video I recently added on my YouTube which shows you step by step exactly how to put snap style fastenings onto a romper/babygrow. An even more detailed video can be found when you buy my ‘Lollipop’ Baby Romper which is now live in our shop. You can find the Lollipop Baby Romper here.

I’m so proud of my new Baby Collection which we are going to be launching for spring. If you’ve bought my patterns before, you’ll know that I spend a long time perfecting the sizing and fit and that I provide full detailed video instructions which are really clear (comes from my experience as a sewing teacher I think!). You can check out the Romper sewing course here, absolute bargain at $8.50 and it goes from newborn to 3 years so you’ll be using this pattern again and again.
Snap fastenings can be fairly intimidating to work out. There are so many different parts and you need to make sure that everything lines up and is put in correctly. This is where I come in!
When I was first drafting my ‘Lollipop’ Baby Romper pattern I have to admit that I inserted my snaps wrong, and I’ve been a professional sewer for many years (it can be so confusing). This has helped me to create the best how to insert snap fastening video to make sure you get a perfect result every time.
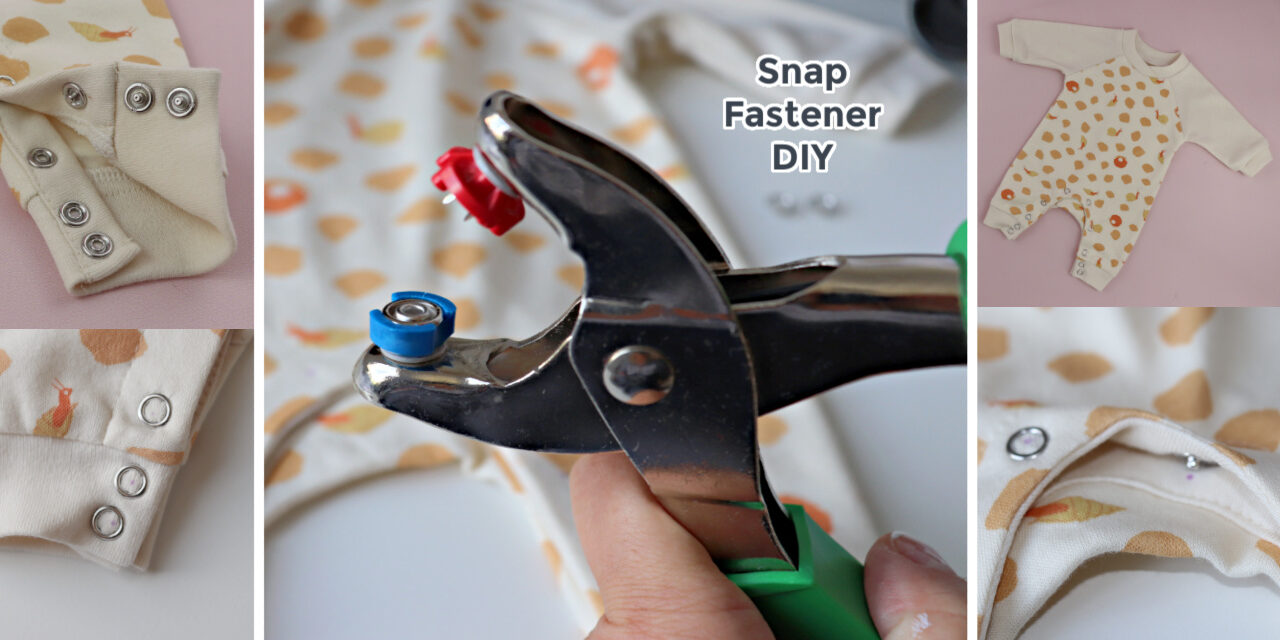
In this video I show you:
-
Introduction to our new Baby Collection PDF Sewing Patterns
-
What supplies you need to insert snaps
-
Tips & Tricks for choosing the right snap fastenings
-
Where to buy your snap fastenings
-
What size snap fastenings you need for baby rompers
-
How to use snap tools
-
Where to insert snaps on a baby romper
-
How to insert holes into fabric
-
How to insert snaps on the binding
-
Tips & Tricks for inserting your snaps perfectly every time
Sign up to our mailing list here to get notified when new items in our Baby Collection comes out (plus free goodies and discounts)!


Recent Comments